
ReiSearch has guided walkthroughs for creating a presentation and finding your way around its editor. Follow the highlighted control as well as the tooltip: some steps advance through Next, while others require you to perform the action in the app.
Creation walkthrough: from the dashboard to the editor
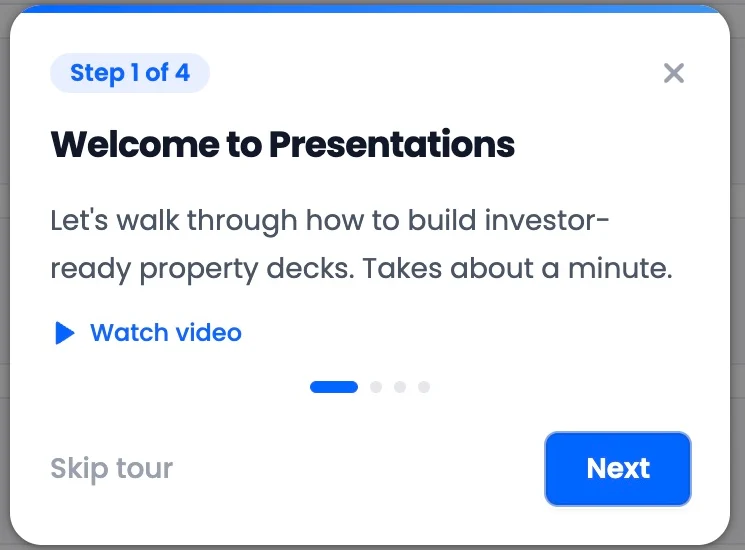
When the Presentations walkthrough is active, it introduces four stages:
- Welcome to Presentations. Read the introduction, use Watch video for the overview, or choose Next to continue.
- Start a new deck. Select the highlighted Create New Presentation button.
- Pick a property. Search the Select a Property dialog and select an available property. This flow lists eligible draft properties in your account.
- Click Create to continue. Review the presentation format, name, dimensions, and underwriting choice where available, then select Create. Creating a deck adds a real presentation to your account.
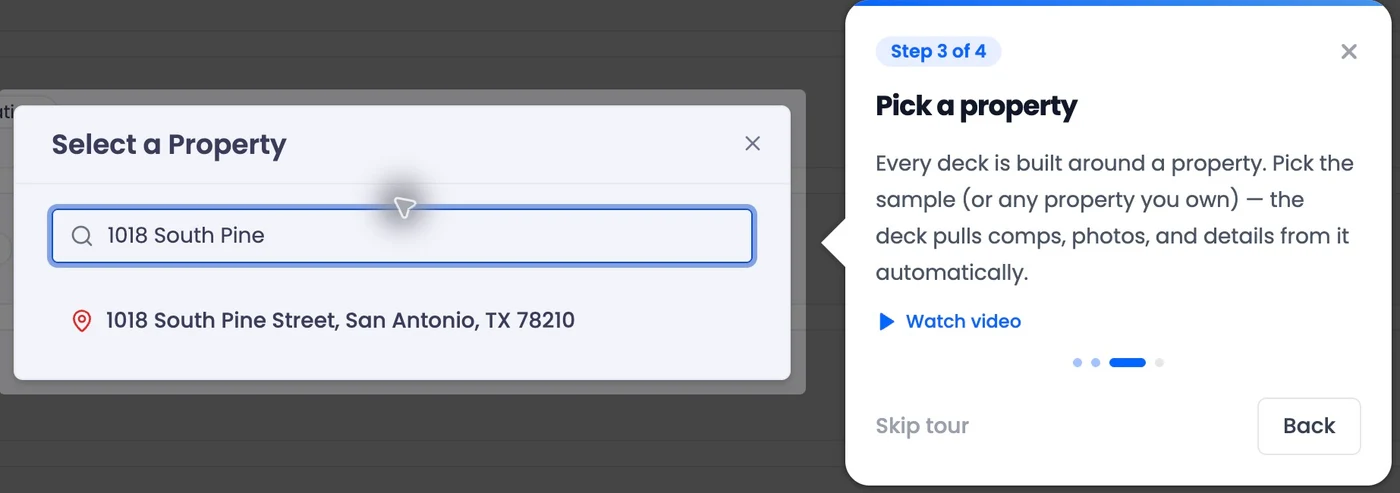
The picker screenshot illustrates the dashboard route. The public-template walkthrough uses a different property and starts directly from that property’s workspace.
If the tooltip has no Next button, use the highlighted app control. Back returns to a previous explanation when available. Skip or Close dismisses the tour; you can continue using the presentation tools.
Prefer a ready-made public design?
The dashboard tour teaches the creation controls. For a designed starting point, open the property and choose Presentations → Use Template → Default Templates. Select a public design, choose an underwriting version if prompted, and generate the presentation.
Follow the screenshot-led public-template walkthrough for a populated example. A whole-presentation template is different from adding an individual slide through New Slide → From Slide Library inside the editor.
Editor walkthrough: understand the workspace
The editor tour has four stages:
| Tour stage | What to try |
|---|---|
| Welcome to your editor | Find the slide rail on the left, canvas in the middle, and formatting tools. Select an element to inspect its controls. |
| Your work auto-saves | Locate the saved-state indicator. Use Save when you want an immediate save. |
| Export & share | Locate the control for file export and share-link options. Opening the dialog is separate from publishing. |
| You’re ready to go | Finish the tour and continue editing. |
These steps introduce the controls; they do not complete the deck for you. Review every slide, resolve missing source data, and confirm the saved state before closing.
Watch the overview alongside the written steps
Use Watch video in the tour tooltip when available. The creation guide also includes the presentation overview video and written instructions, so you can refer to it without keeping the tooltip open.
If the video does not load, continue with the written steps and screenshots. The tour video control was verified during this review, but playback did not complete in that session.
After the walkthrough
Use property and deal data, pinned comps, and renovation costs and imagery to supply evidence. Then review a file export or publish a reviewed share link.